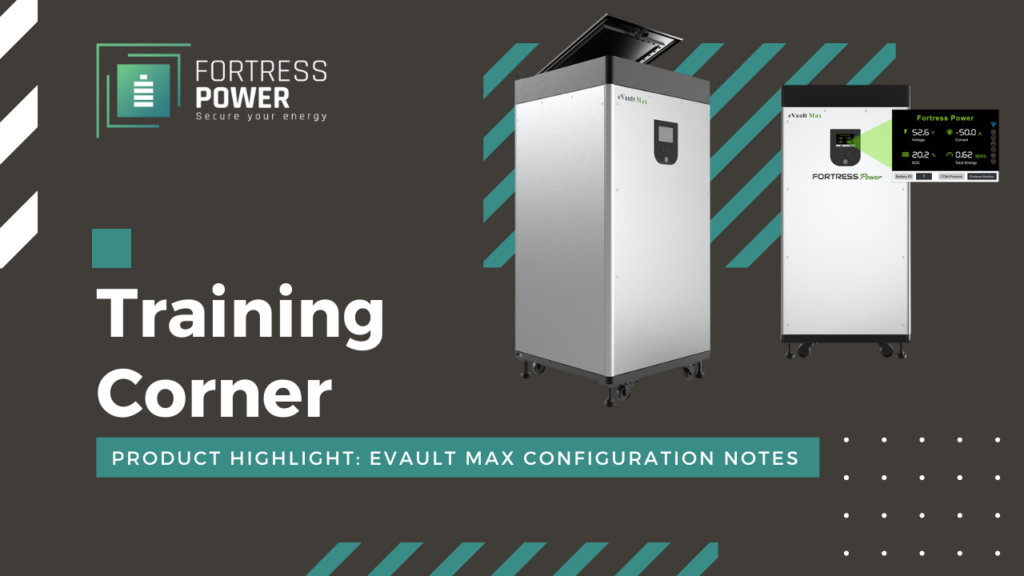
Product Highlight: eVault MAX Configuration Notes
Since the release of our new flagship eVault Max battery, we have made a few changes to the product setup and commissioning process that aren’t covered in the printed user manual which ships with the Max. To aid our installers in the field and simplify the process we have updated our Inverter Guides and produced a Quick Start Guide to help you when commissioning single or multi-battery systems from scratch. Some of the key points to look out for are as follows:
Protocol ID and Battery Numbering is found in the Quickstart Guide.
The printed manual that came with the Max had some misprints that stated incorrect numbering for closed loop communication protocols, as well as the numbering scheme for single or multi-battery systems. Out of the box the eVault Max comes set to Battery ID 2, this is for safety should the button get pressed during transit. Once you remove the battery from the crate you will need to change this to 0 for the battery to turn on and be tested. For installs with a single battery the Battery ID should remain at 0, for installs greater than one, the numbering scheme is 1, 2, 3,…N, with 1 being the master battery.
In addition, the Protocol ID, used when communicating with different inverters in a closed loop configuration, is not accurate as printed in the manual, instead please refer to the new manual on the website (which is always the most up-to-date), or contained within the Quickstart Guide. For our most popular inverter pairing, Sol-Ark, customers must set the Protocol ID to 1, this is a different protocol than Protocol ID 5, despite the wording in the manual.
Check your cables
Getting closed loop working between battery and inverter requires a custom crimped CAT5/6 cable, this can be made in a variety of ways, including crimping your own cables with feed-through RJ45 connectors and CAT5/6 cable, using a male ethernet keystone, or by purchasing a pre-made cable from our webstore (also available via Northern Arizona Wind & Sun) while only 5ft these pre-made cables are extendible by using a standard RJ45 coupler. Details on which conductors need to land on which pins can be found by going to our Inverter Guides page under the Dealers section of our website. Going forward, we will be including a 5ft Sol-Ark communication cable in the box with new eVault Max’s. You will still need to make a cable for other inverter brands such as Schneider, Victron, and SMA.
Tips for Success
In a fast changing world getting the right information increasingly takes more effort, while we do include a printed manual with all of our products we highly recommend visiting our website for the most updated version of our product manuals and Inverter Guides as a lot can change during the long lead time from production to delivery. At Fortress, we put a lot of effort into keeping these current, as inverter manufacturers change product features or we discover new inverter-specific commissioning tips and settings. As such, we do not recommend relying on outside guides (such as from an inverter maker) for battery configuration specifics or or using generic “LFP” or “Lithium” settings that may come pre-programmed with certain inverters.


